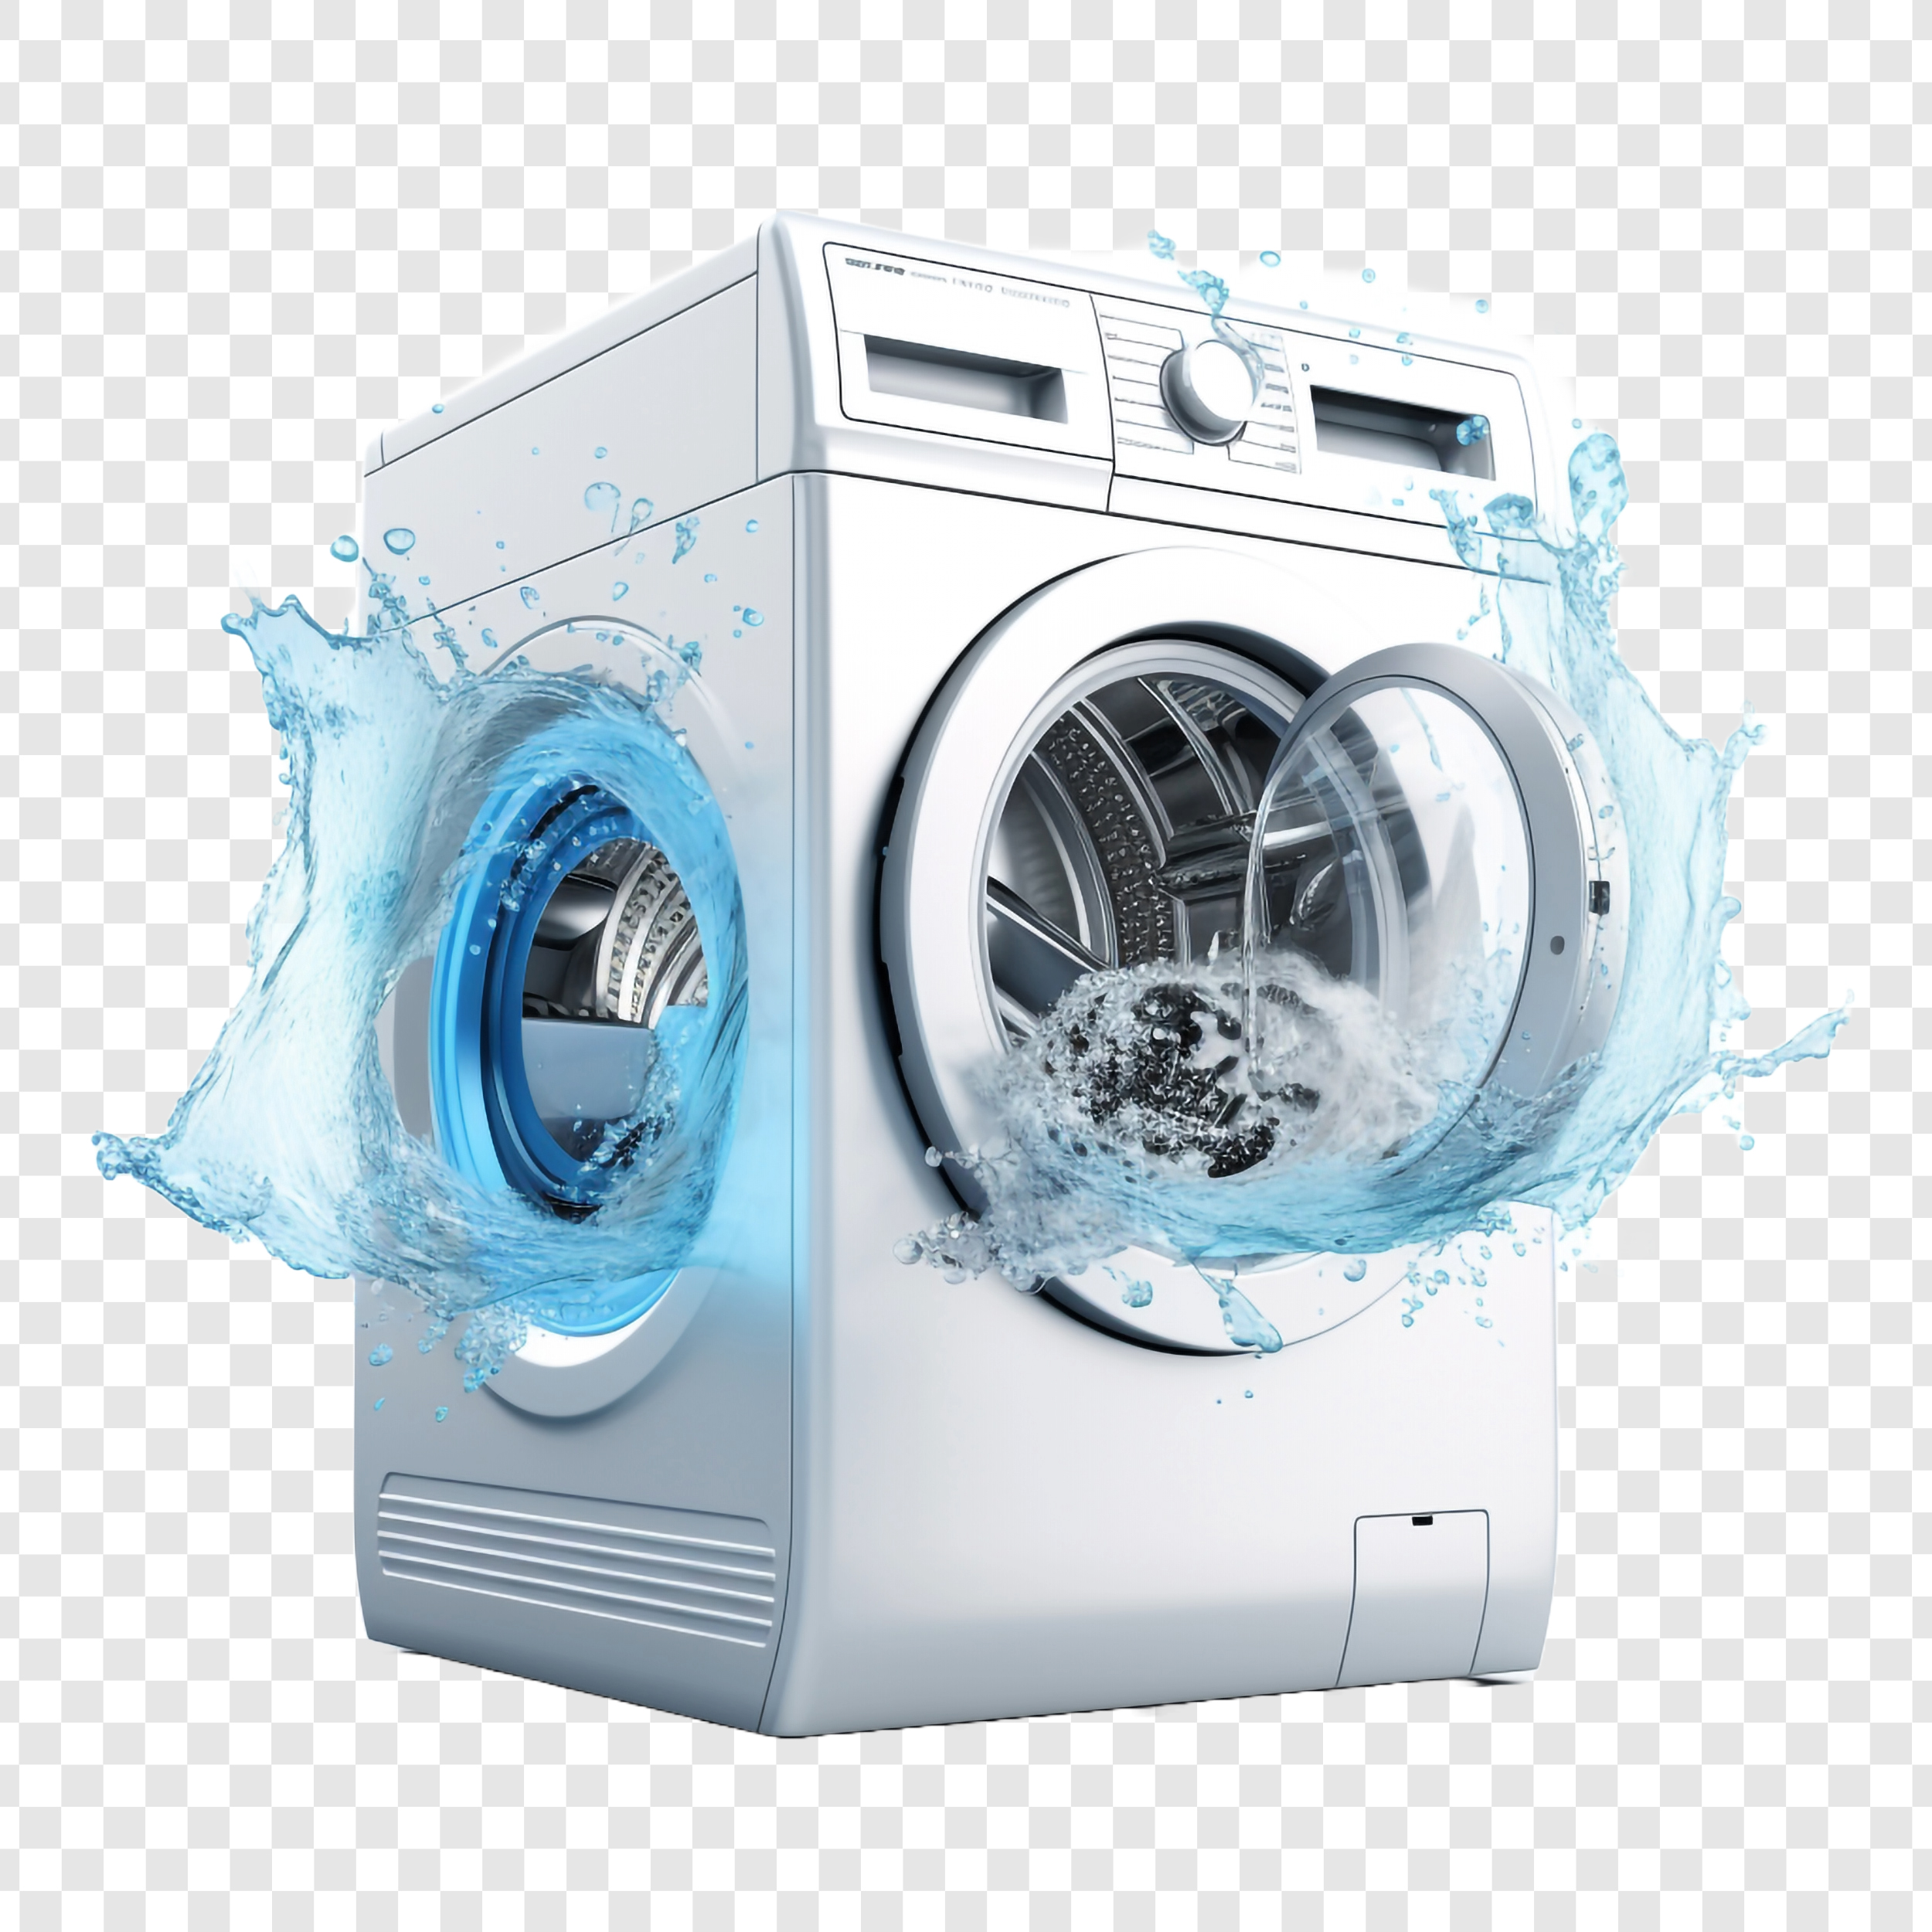
A leaking washing machine can be a frustrating and inconvenient problem to deal with. This not only creates a nuisance but also leads to the wastage of water and increased energy costs. In this blog post, we’ll show you how to fix a leaking washing machine in 7 steps. Whether you’re a DIY enthusiast or a beginner, this guide will help you troubleshoot and fix problems. So, let’s see how to fix a leaking washing machine!
Understanding the Causes of a Leaking Washing Machine
Before we start the troubleshooting and fixing process, it is essential to understand the common causes of a leaking washing machine. Some of the possible reasons include a faulty hose, a damaged pump, a worn-out seal, or an overloaded machine. By identifying the root cause, you can effectively address the issue and prevent further leaks.
Step 1: Safety First
Before attempting any repairs on your washing machine, it is crucial to ensure your safety. Turn off the power supply to the machine by unplugging it from the electrical outlet. Additionally, shut off the water supply to the machine to prevent any further leaks or accidents.
Step 2: Inspecting the Hoses
One of the most common causes of a leaking washing machine is a faulty hose. Start by inspecting the inlet and outlet hoses for any signs of damage, such as cracks or leaks. If you notice any issues, replace the hose with a new one. Ensure that the hose connections are tight and secure to prevent future leaks
Step 3: Checking the Pump
A damaged or malfunctioning pump can also cause a washing machine to leak. Locate the pump, which is usually located at the bottom of the machine. Check for any visible signs of damage or leaks. If the pump is faulty, it may need to be replaced. Consult the manufacturer’s instructions or seek professional help if necessary.
Step 4: Examining the Door Seal
The door seal, also known as the gasket, is another potential culprit for a leaking washing machine. Inspect the seal for any signs of wear, tears, or mold growth. If you notice any issues, replace the door seal with a new gasket. Ensure that the new seal is properly aligned and securely attached to prevent leaks.
Step 5: Avoid Overloading
Overloading your washing machine can cause leaks and put excessive pressure on the drum. To prevent leaks and ensure the proper functioning of your machine, follow the manufacturer’s guidelines on the maximum load capacity. Avoid overloading your machine and stick to the recommended load capacity.
Step 6: Regular Maintenance and Cleaning
To prevent future leaks and maintain the efficiency of your washing machine, it is essential to perform regular maintenance and cleaning. Clean the detergent dispenser, remove any lint or debris from the filter, and check for any clogs in the drain hose. Regularly clean the drum and door seal to prevent mold growth and maintain a hygienic environment.
Step 7: Professional Help
If you have followed the troubleshooting steps mentioned above and are still experiencing leaks, it may be time to seek professional help. A qualified technician can diagnose and repair any complex issues with your washing machine, ensuring its optimal performance and preventing further leaks.
“To Buy a Refrigerator, Click Here“
Fixing a leaking washing machine can seem like a daunting task, but it can be a manageable DIY project with the right knowledge and guidance. By following the step-by-step guide outlined in this blog post, you can effectively troubleshoot and resolve the issue of a leaking washing machine. Remember to prioritize safety, perform regular maintenance, and seek professional help if needed. With these tips in mind, you can enjoy a leak-free laundry experience and save on energy expenses!
Images: Freepik.com